Industrial cameras in measuring machines

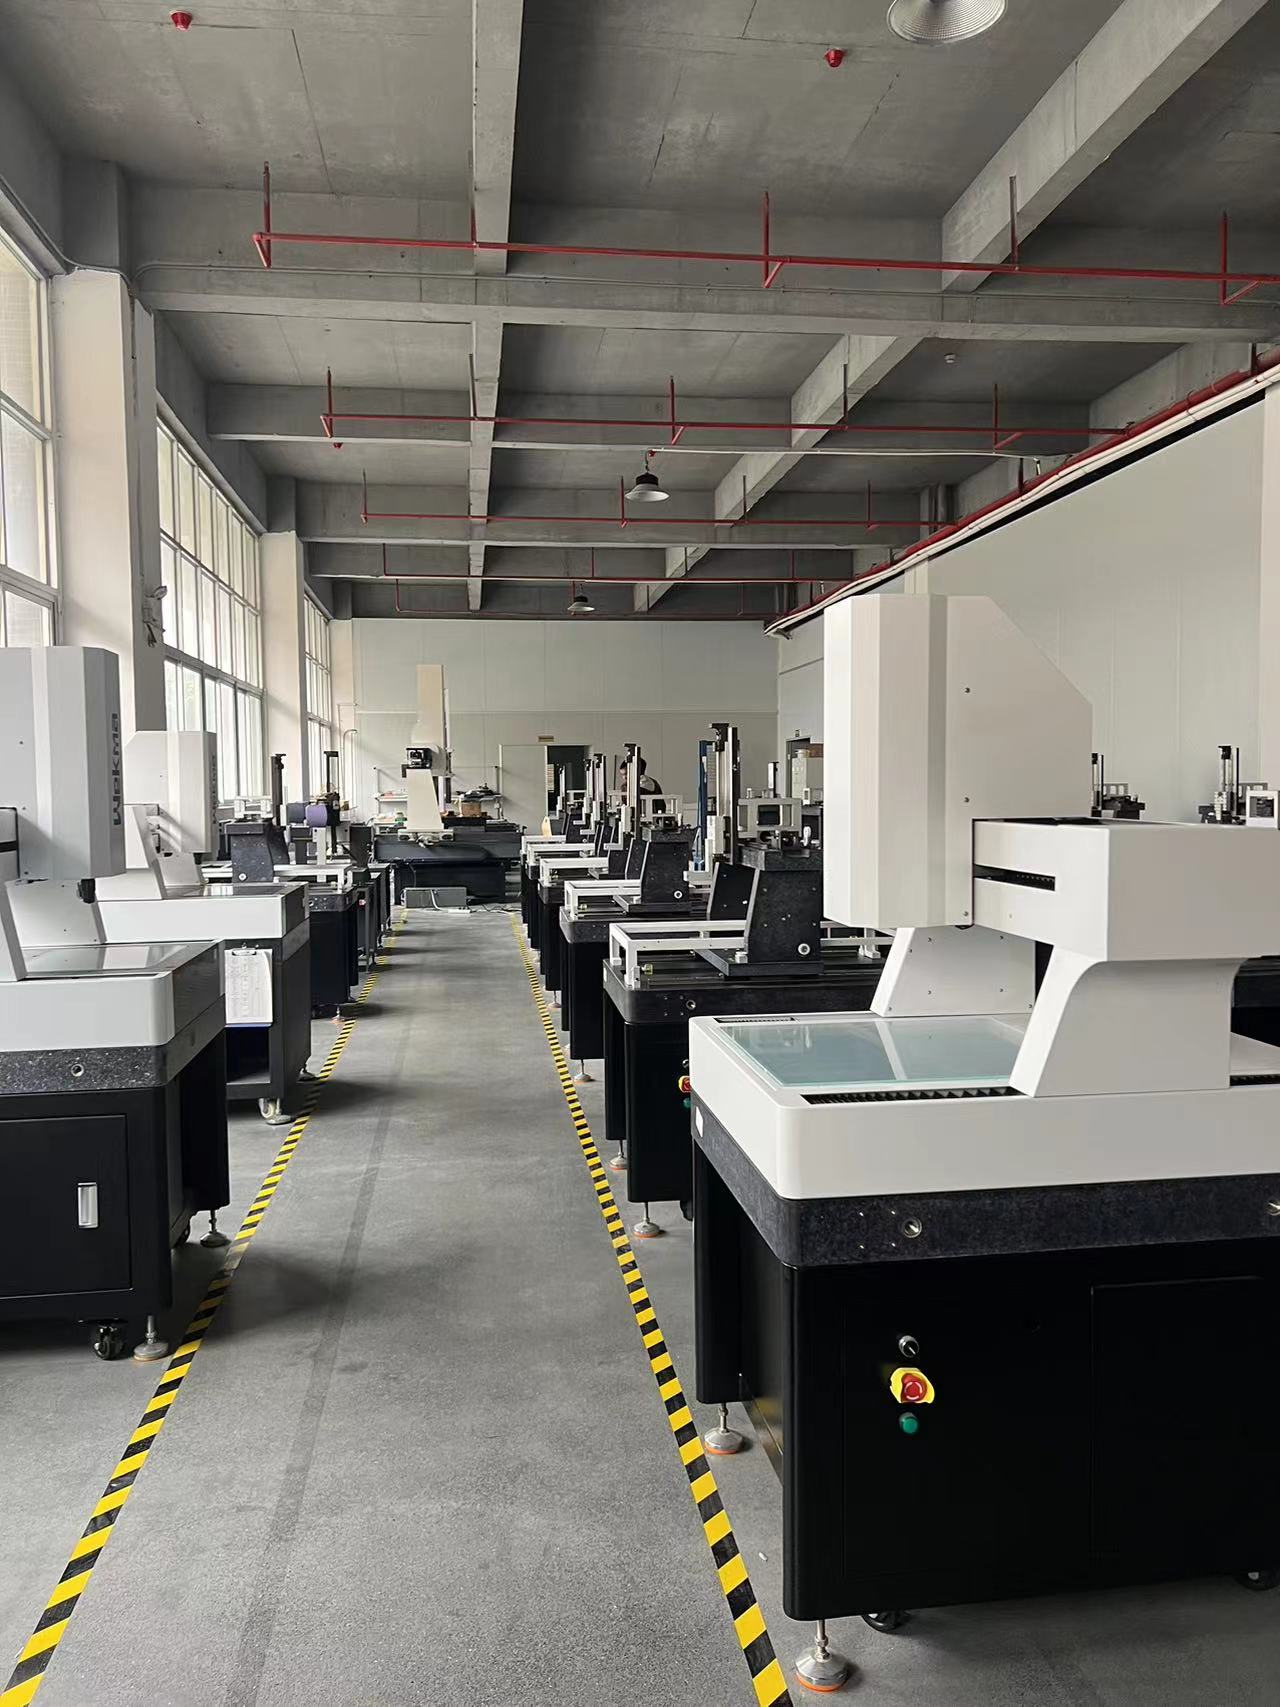
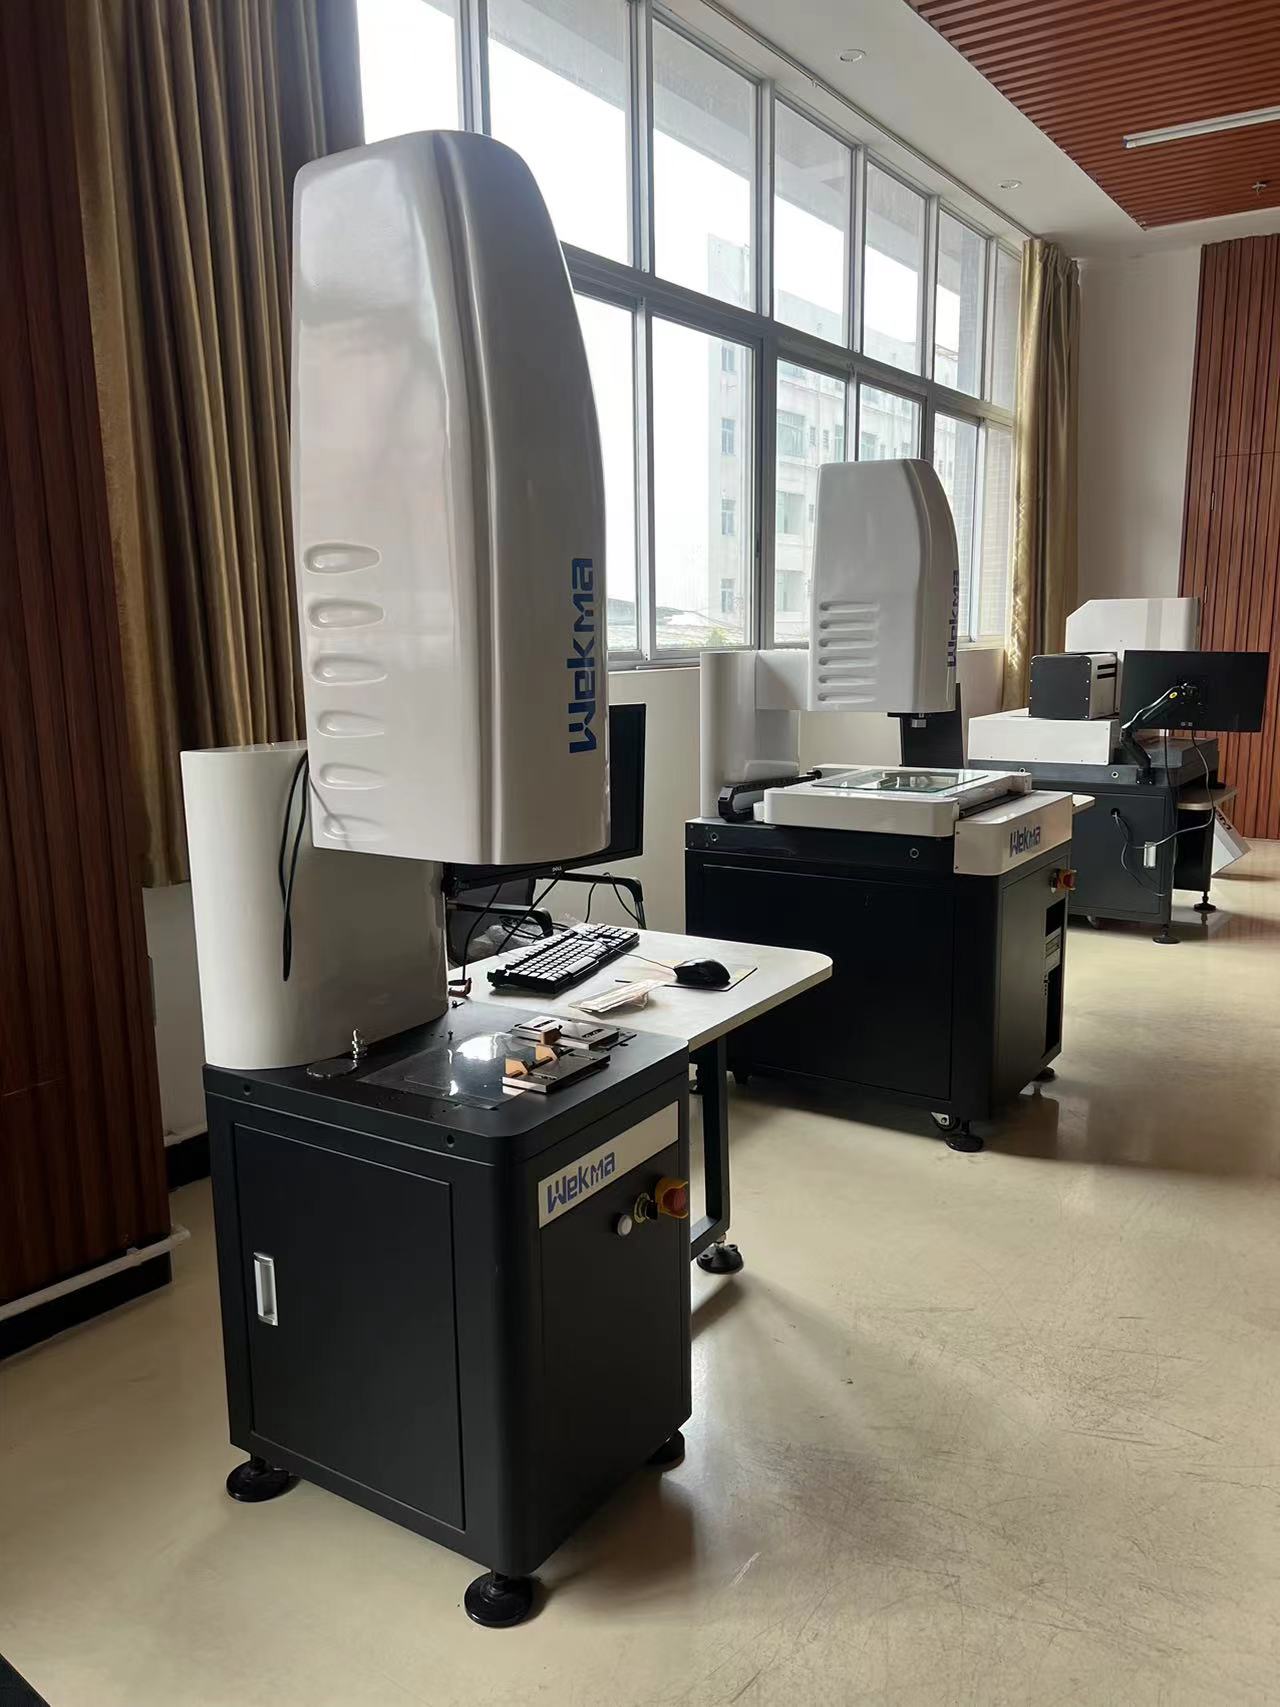
2D measuring instruments and coordinate measuring instrument are two common precision measuring equipment, their main difference lies in the dimension of the measurement and the applicable measurement object.
2D measuring instruments is mainly applied to the dimension measurement of the plane, which can accurately measure the dimensions of the object in the X and Y directions (i.e., the plane), such as the length, width, diameter, angle and so on. Therefore, the 2D measuring instruments is mainly applicable to, for example, the precise measurement of the contour, hole position, size, etc. of components, and it is very suitable for some parts and components (such as touch panels, PCB boards, patches, etc.) that require surface inspection.

A Coordinate Measuring Machine (also known as a 3D measuring machine or CMM), as the name suggests, can measure the dimensions of an object not only in the X and Y directions, but also in the Z direction (i.e. height). This enables a CMM to measure an object in all directions, including length, width, height, angles, curves, surfaces, and so on. Therefore, CMMs are mainly suitable for the measurement of complex three-dimensional parts, such as automotive parts and aerospace parts.

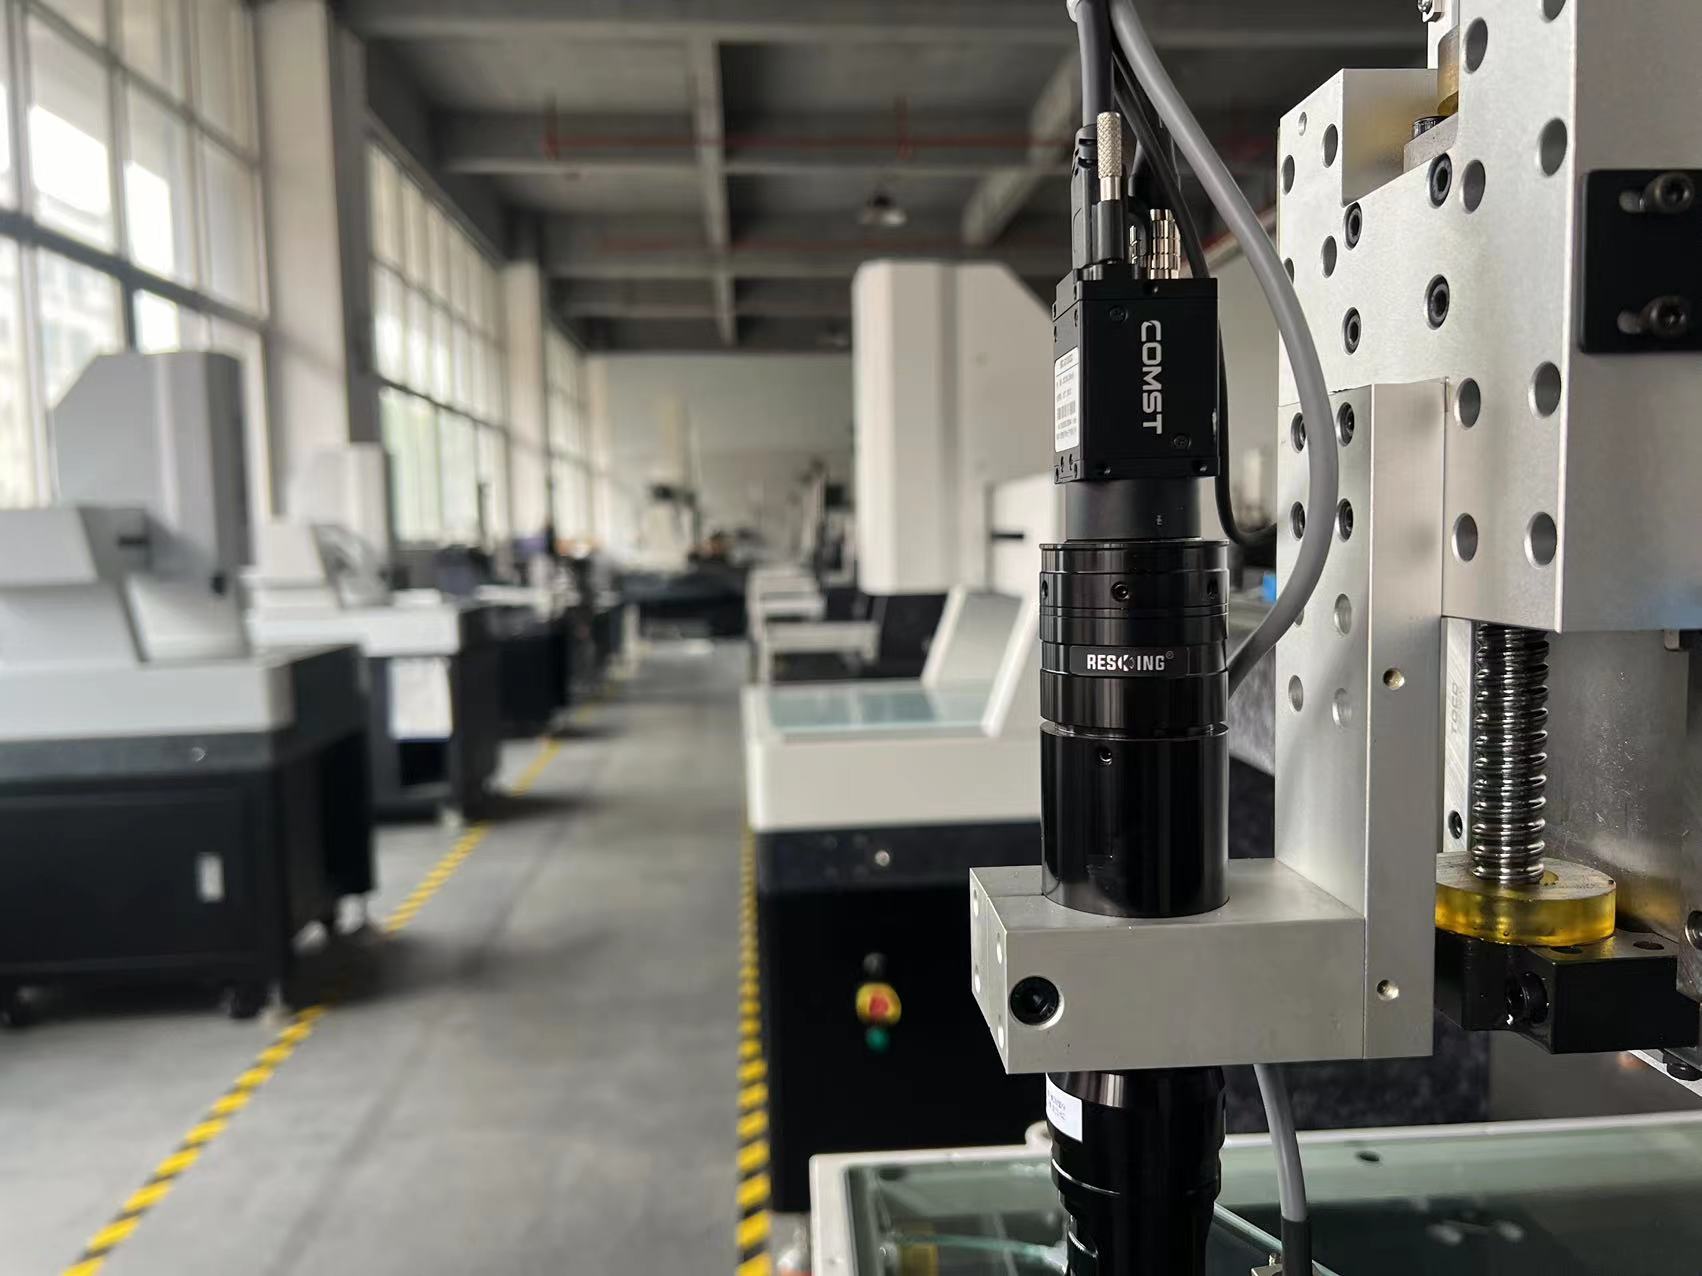
Industrial camera is one of the important accessories on the measuring instrument, a good industrial camera has the following advantages
High Accuracy: Comst industrial cameras provide extremely high image resolution and accuracy, which is essential for measurement and analysis. This helps provide more accurate data for manufacturing and quality control.
Clear and smooth images
Fast response: Comst industrial cameras capture and transmit images instantly, which makes real-time inspection possible on high-speed production lines.
Wide range of adaptability: Comst industrial cameras can operate in a wide range of environmental conditions, including harsh environments. This allows industrial cameras to work indoors, outdoors, in bright light or in dark environments.
Stable and reliable: Comst industrial cameras are designed to work continuously for long periods of time without requiring excessive maintenance. This greatly reduces operating costs and downtime.
The use of a single wire for power supply and data transmission also reduces the need to purchase and install components, thereby saving costs. Stable connection. Both ends of the GigE have buckles, ensuring connection with the camera and computer
Easy to Integrate: Comst industrial cameras have a wide range of interfaces and flexible topologies for easy integration into existing equipment and systems.
Industry standard design: Comst industrial cameras follow industry standards and not only work seamlessly with a wide range of software, but can also be easily upgraded or replaced.
Test stable operation
In this case, the customer chose to use Comst GigE high-resolution color cameras with auto-magnification lenses, which eliminate the need for users to re-select the scale after changing the magnification.
With Comst GigE cameras, you are choosing an efficient and highly accurate measurement solution.
Comst GigE cameras have been proven in the surveyor market to not only meet the requirements for high accuracy, but also have the versatility to meet a wide range of measurement needs.
 Industrial cameras in measurin
 Industrial Camera Selection
